French exterior goodness

This post is not so much about interiors, but exteriors.  Our trip to the amazingly beautiful Ile de Re and then south west France gave me the opportunity to photograph breathtaking French architecture that has been a constant inspiration to me. I love the simplicity of French architecture rather than the more fussy, opulent aspects of some French interiors.  I hope these images inspire you as much as they inspired me.

The Ile de Re is absolutely stunning.  We stayed in a hotel called La Baronnie, which was nestled right next to the bustling harbour of St. Martin.

St. Martin Ile de Re

The symmetry of these coastal houses is so appealing. The light render, window shutters and terracotta roof tiles are all synonymous with French architecture.

St. Martin Ile de Re

The back entrance of La Baronnie lies off this little street.

French chateau with window shutters

I love the look of windows with shutters; they frame these beautiful tall, slim windows.

Vintage metal garden furniture

Wonderful antique metal furniture in La Baronnie gardens that just look so ‘French’.

French chateau garden

Although each part of La Baronnie is a different shape and size they are all tied together by their colour and roof tiles. This cohesive look is another aspect of French architecture that appeals to me.

French chateau with window shutters

Paint work on a lot of French buildings always looks so tasteful as a limited colour palette is used that includes grey, sage green, verdigris and duck egg blue.

French chateau terrace

Simple, cohesive outdoor furniture.

wood clad french chateau bedroom

Our room was clad in wood with exposed beams and painted floorboards. This style reflects being next to the sea and the light. The typical French toile de jouy bed linen is palatable (usually far too fussy for me) as this is the only print used in the room.
wood clad french chateau bedroom

The furniture in the room is sparse and simple, which makes the room feel more modern.

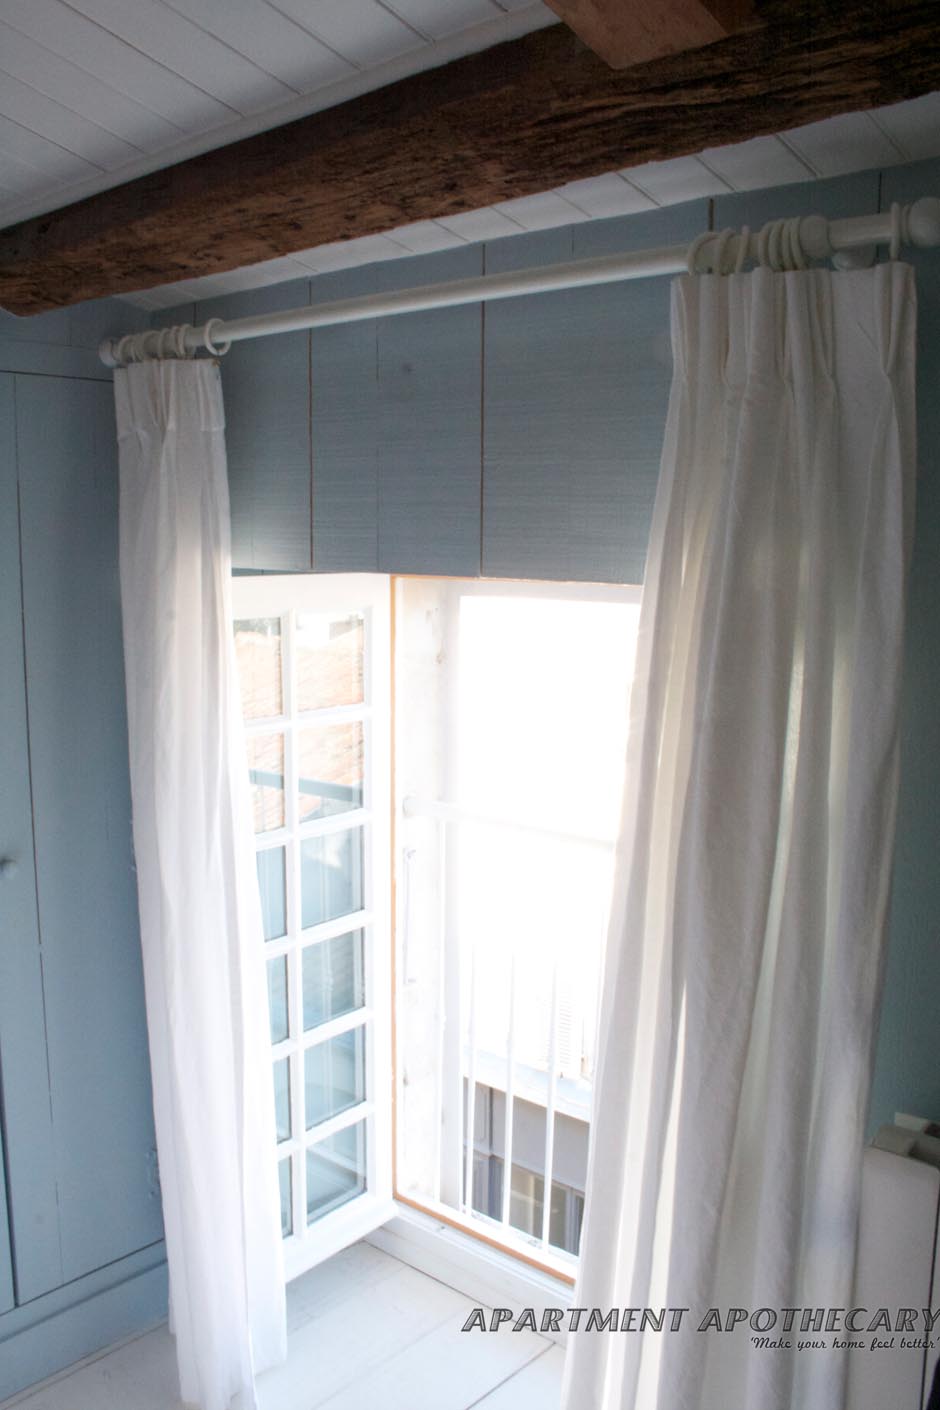
The pretty windows are framed with internal shutters and floaty white curtains to ensure the light can reach every corner of the room.
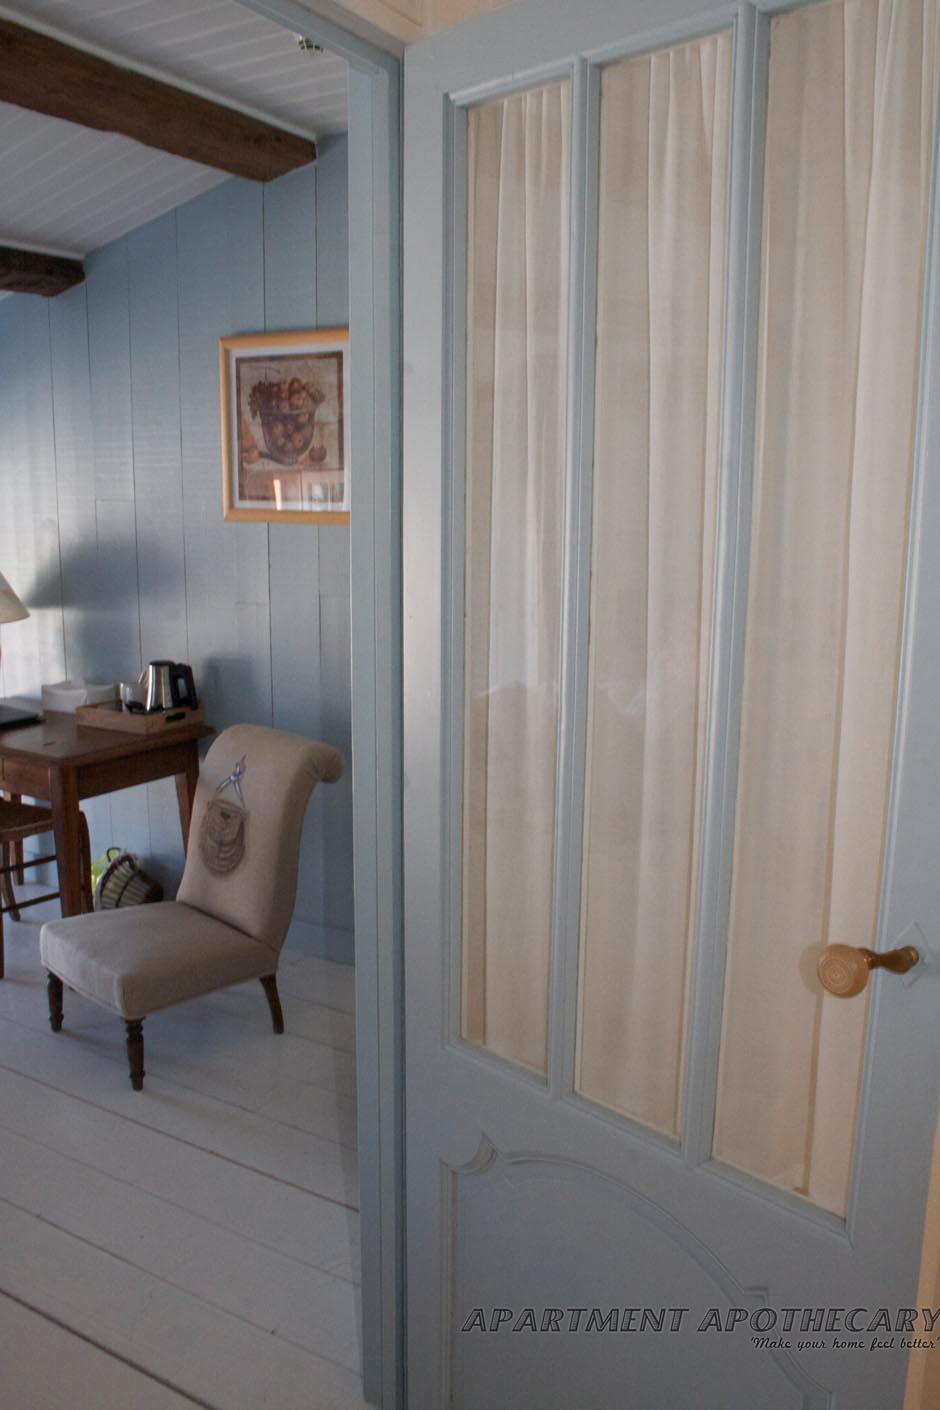
Small details like the sheer curtain across this door and the door handle instantly create the unique French style.
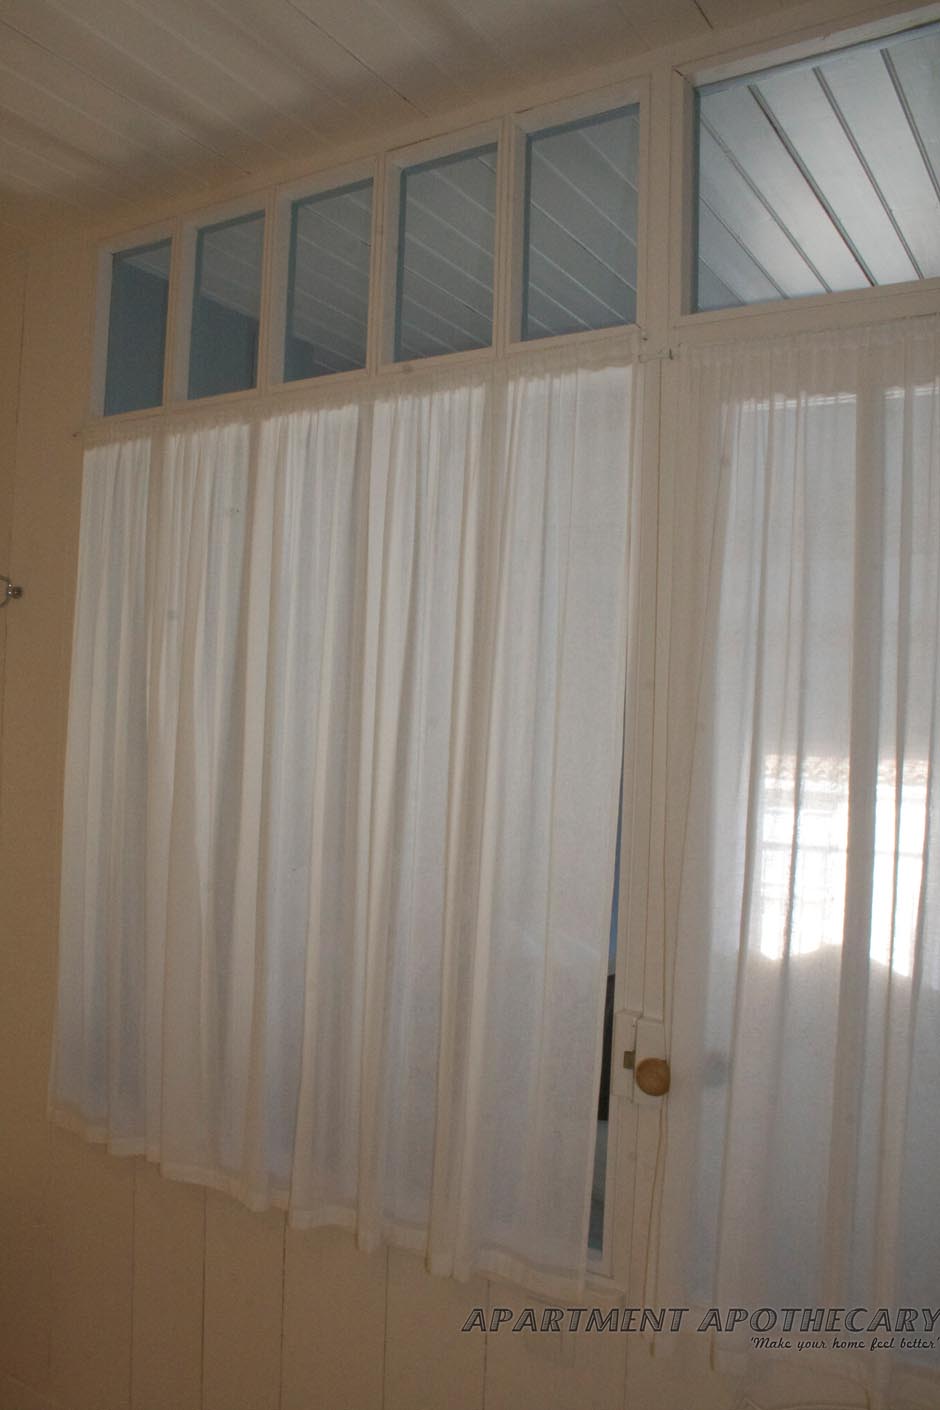
By using glass between the bathroom and bedroom it means the window-less bathroom is as light as possible.

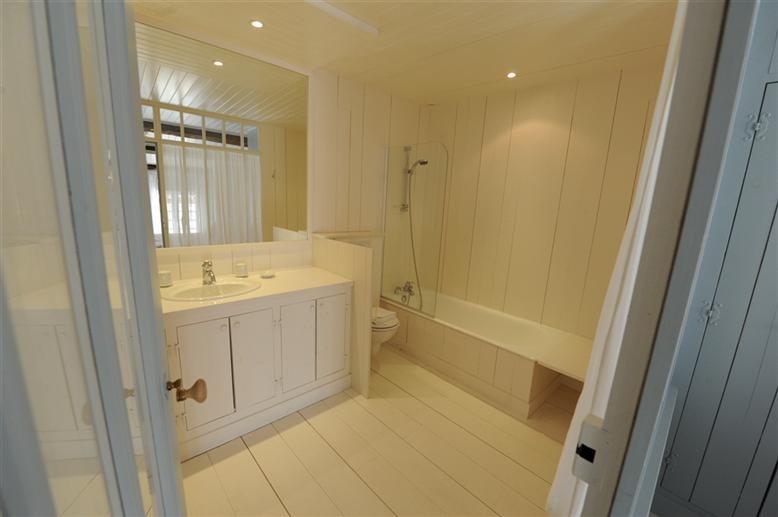
wood clad french chateau bathroom

The bathroom is also clad in white wood with painted white floorboards.

We then travelled on to the Chateau de Lalande, whose architecture is as French as can be.

French Chateau

A beautiful example of an original French Chateau.

Ivy covered French Chateau

The ivy covering is very French.

Ivy covered French Chateau

The grandness of this Chateau is softened by the ivy and wisteria.

Hydrangeas at French Chateau

Hydrangeas line the entrance to the chateau and they reflect the blue of the shutters.

Ivy covered French Chateau

White, metal garden furniture would be more appropriate in this garden.

Swimming pool at Ivy covered French Chateau

The effort that has been put into this pergola absolutely covered in wisteria adds to the style of this Chateau.

French wallpaper

This is not to my taste but the chateau is decorated in opulent, old fashioned French style throughout.


I will be back as soon as I can be!


Plates

I love all types of crockery, porcelain and ceramics. Using beautiful plates to hang on walls means you can fully appreciate them and they can be hung anywhere in your home. Best of all, you can pick up the prettiest and cheapest of plates from charity shops, antique fairs and eBay.

Here are some ideas for hanging plates in your home.

Burleigh and Shelley plates hanging in kitchen

Collection of antique Burleigh and Shelley plates hanging on kitchen beam.  All plates were bought on ebay for between £2 and £10. eBay is a good place to get a bargain.

Combine antique and new plates for an eclectic look.

These plates make a feature out of the chimney breast.

Bold collection of plates.

Solid, coloured plates make a design statement, almost like polka dots.

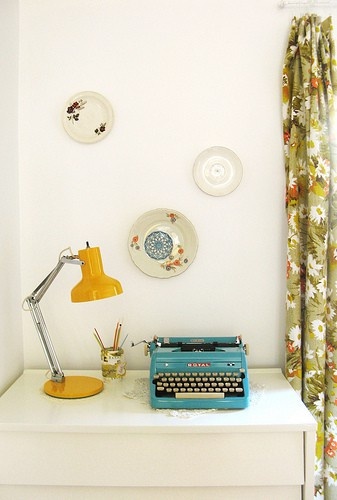
Vintage plates hung in work space

Vintage plates add inspiration to this work space.

Choose plates based on their colour like this bue and white collection.

A collection of plates in all different sizes and shapes that are drawn together by similar illustrations.

Hanging plates

Hang pretty mis-matching floral plates together.

A display of plates on a kitchen wall.

Overlap plates for an interesting display.

A vertical display of plates is a good option for long slim wall spaces like this.

Hanging plates

Hang plates in a symmetrical display.

Fornasetti collection of plates

A black and white tableau of Fornasetti plates makes a bold statement.

Make your plate wall humorous, definitely a generator for conversation.

BUY YOUR OWN:

If you would like to begin your own plate collection have a look at some of these relatively inexpensive options:

Set of four art deco vintage plates

Set of four art deco tea plates. Buy online from Not On The High Street for £24.99.

Bohemian set of four plates. Buy online from Not On The High Street for £45.

Set of four vintage art deco plates. Buy online from Not On The High Street for £25.

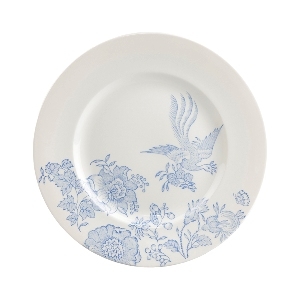
Burleigh pottery plate

Burleigh pottery Asiatic Pheasants collection. Buy online for £5.85.

Retro plates featuring Royal festival Hall image

To celebrate the 60th anniversary of the Festival of Britain Mini Moderns has designed a range of porcelain plates featuring icons and motifs from the original Festival of Britain in 1951. A bargain at £18, I’d say.

Liberty plate

1950 Festival cake plate. Buy online from Liberty £27.50 (treat yourself!)

Natural World plates from Anthropologie

Natural World plates from Anthropologie. Buy online from Anthropologie for £16.

Artist Tom Frost’s wildlife plate set £20.

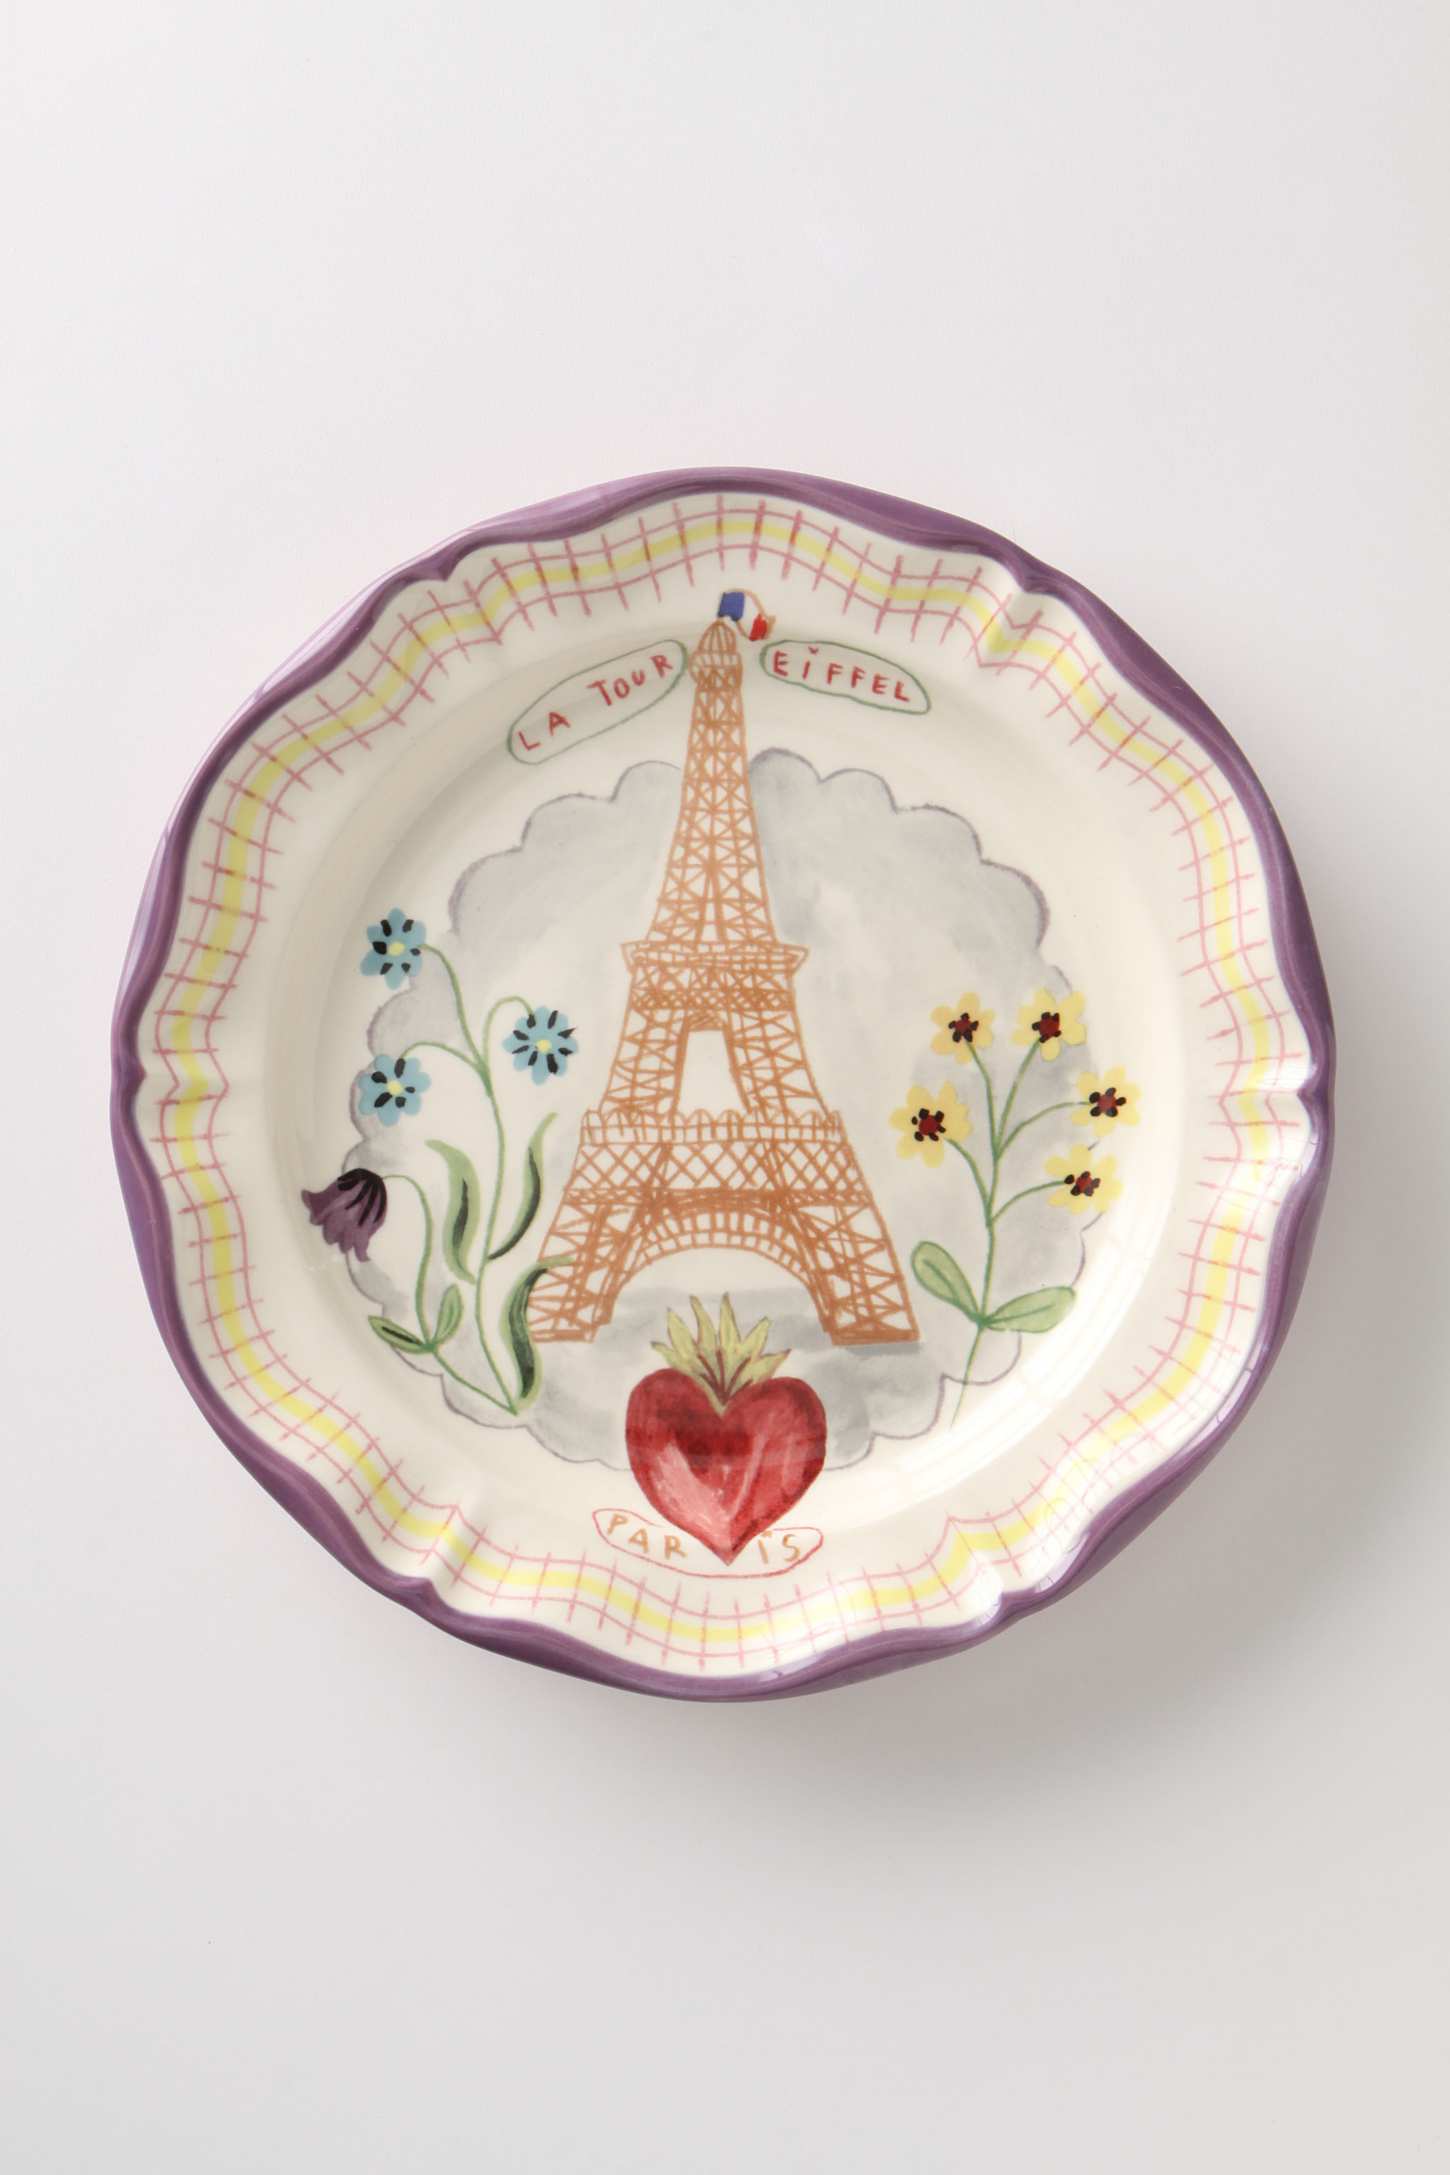
Anthropologie dinner plate

Francophile dinner plate, one of a collection from Anthropologie. Buy online for £24.

HOW TO HANG:

An alternative to plate wires, disc plate hangers are ideal for hanging plates and have been successfully used in England for many decades. They are easy to use and will not damage your plates. Click on the picture to buy these online for a couple of pounds.

Wire plate hanger

White wire rack allowing a plate to be mounted to the wall using an existing hook. The wire is sprung to ensure the plate is firmly gripped. Click on the picture to buy these online for less than £1.


Old school trunk

I love a bit of make-do. It’s not possible to run out and buy every beautiful piece of furniture you see and it’s important not to dispose of things “just because”. My mum went to boarding school and therefore had a school trunk, which I used to see in my grandparents’ garden shed as a child.  More recently, when I saw the trunk I knew I could make it into a fully functional piece of furniture that would last forever.  I decided to turn it into a coffee table that would double as storage.  However, I wanted to make it as versatile as possible so I added castors that would allow me to move it around my sitting room as and when needed.  The castors also add some height to it, which make it table-like.

You will need:

1. Vintage trunk or steamer chest

2. x4 castors (choose the size according to the size of your trunk)

3. x4 pieces of mdf (about twice the size of the base of the castor)

4. x16 screws (long enough to drill into the pieces of mdf but not too long that they go through the base of the trunk)

5. Wood glue

6. Screw driver or drill

Old school trunk

You will need: Old school trunk

You will need: Choose castors like these that are lined with rubber so they won’t ruin your floor covering.
Click on the picture to buy these online for £3.30 each.

TUTORIAL:

1. Using the wood glue stick the four pieces of mdf on the base of the trunk. Position them where you will want the castors. You need these pieces of wood because generally the skin of a trunk is very thin so if you tried to drill the castors straight into the trunk the castors would not be very stable and liable to tear the skin of the trunk. Make sure you leave the glue to dry for a couple of hours.

Castor on vintage school trunk

2. Drill the castors into each piece of wood.

Vintage trunk upcycled into coffee table

All finished. How easy was that?

The trunk is now not only a coffee table but it provides a lot of storage. You can fill it with heavy objects and it will still be easy to move as and when needed because of the castors.

I love the vintage feel the trunk brings to my sitting room.

The fact that the trunk still has my mum’s name stuck inside makes me love this piece of furniture even more.

BUY YOUR OWN HERE:

If you, too, would like to buy an old trunk then there are some options from online shops but these do tend to be quite pricey. By far the cheapest way to buy an old trunk is to use eBay: I bought one recently for less than £30.

Vintage metal trunks and chests.

Vintage metal trunks from Scaramanga £100

Vintage old school trunk

Vintage 1920s trunk with original railway labels from Lassco £135

INPSPIRATION FOR UPCYCLING A TRUNK:

Vintage and shabby chic trunk used as a coffee table.

Trunk used as a coffee table in front of the fire.

Vintage luggage used as storage in bedroom

Vintage luggage used as storage in bedroom.

Stacked vintage trunks

Stack trunks to be used as a lamp table.

Trunk coffee table at Foster House

At Foster House, a photography and film location they have used a trunk as a coffee table in this vintage-inspired sitting room.


Victorian pine toy-chest.

Shabby chic vintage trunk for storage of blankets and quilts.

Store blankets and quilts in an old trunk.

Vintage luggage and trunks used as a bedside table.

Stacked to make a bedside table.

Vintage suitcase upcycled into a bathroom cabinet.

An old suitcase made into a unique bathroom cabinet. Click on the image to find out how to make this.

Upcycled vintage suitcase.

Vintage suitcase with legs added to change its use.

Sowing the seed

Spring is springing so today my task is to sow seven different types of seeds for the roof garden: Lavender, thyme, parsley, chives, chilli peppers, green beans and lettuce (always check your seed packets for the best month to sow the seeds). This is what I learnt about sowing seeds from the lovely ladies at Capital Growth…

EQUIPMENT NEEDED:

Seeds

You will need: Seeds.

You will need: Compostable seedling pots, gloves, trowel, pencil.

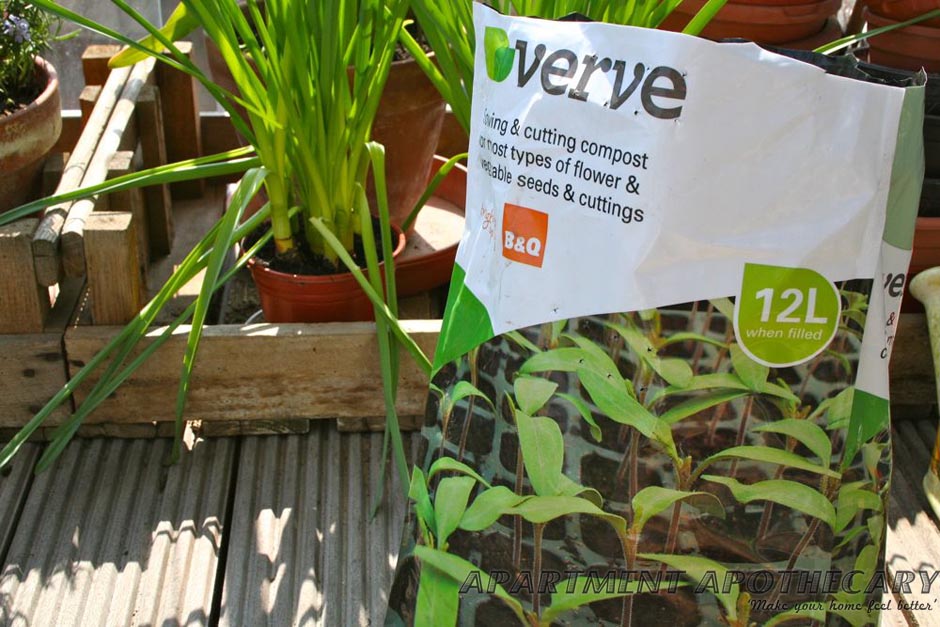
Sowing seeds compost

You will need: Compost for seeds and cuttings.

Sowing seeds

You will need: Water and seed tray with lid.

Roberts radio and Lloyd Loom chair

I always need my Roberts radio for a bit of company whilst gardening.  Yes, that’s right, I am 98 years old and totally unashamed about it.

TUTORIAL:

Compost in biodegradeable pots

1. I began by filling each pot with compost.

2. I pressed the soil down, but not too hard as I didn’t want the soil to be too compact.

3. I watered each pot with a small amount of water. It shouldn’t be water-logged as seeds can rot in too much water.

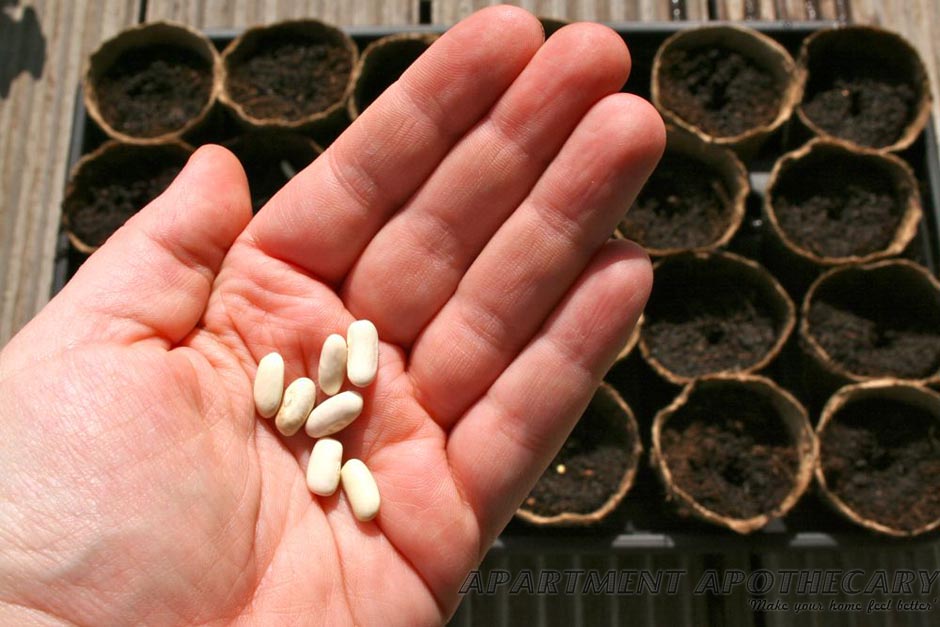
French bean seeds

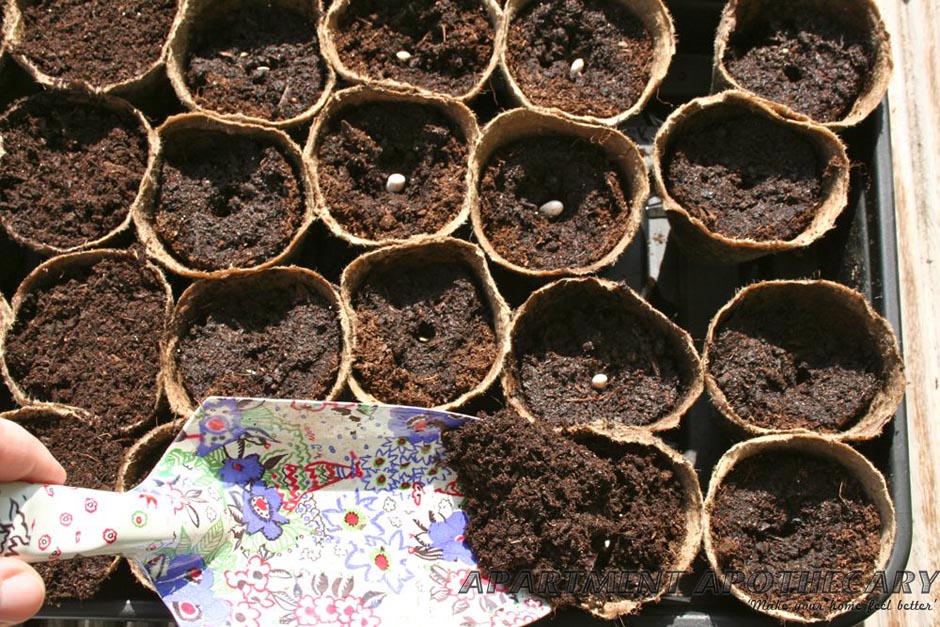
4. The next step depends on the type of seeds to be grown. If they are tiny, like lettuce seeds, they can be almost just placed on top of the soil. If they are large seeds, like french beans, they will need a hole to put them in, which I did with a pencil.

5. The rule that I was taught during our gardening session was that you cover the seed with the amount of soil that the seed is high e.g. a french bean seed is about 1cm high so you should cover it with about 1cm of soil.

Seed trays

6. I gave each pot a bit more water so the new layer of soil is moist. I do not have any plant markers and was not prepared so I used cocktail sticks and post-it notes (not ideal). I then put them inside in the warm.

I have learnt that whilst the seeds are germinating they need to be warm (i.e. inside if possible), but they do not need to have direct sunlight until they sprout. Once they do start sprouting you will need to turn your seed trays regularly as they grow towards the sun.  I will keep you up to date on when (if at all!) the seeds germinate and when to move them outside. I’m keeping my fingers crossed…

BUY YOUR OWN HERE:

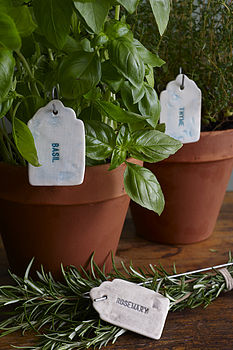
In the mean time I have found some lovely plant markers from notonthehighstreet that you can buy if you don’t have any. But I am also going to do a post about making your own, as otherwise you can end up spending a fortune on your garden.

Blackboard plant markers

Liberty Bee slate plant markers. Click on picture to buy online for £7.

Alice Shields hand made earthenware plant markers. Buy online for £27.

Ceramic plant markers

Jo Heckett ceramic plant labels. Buy online for £6.50.

What have I learnt so far?

  1. When sowing seeds you only need to cover the seed with surprisingly little soil. A good rule is cover with as much soil as the seed is high i.e. a french bean seed is about 1cm high so you would cover it with about 1cm of soil.
  2. Don’t over water the seeds as they can rot.
  3. Put water into the bottom of the tray so that the seeds can take up as much water as they need.
  4. The seeds need to be kept inside for the heat but they do not need direct sunlight until the shoots begin to show.
  5. Once the shoots are out rotate your seed trays as they will grow towards the light.

Liberty patchwork heaven

I can not keep my love for everything and anything Liberty London hidden.  What better way to indulge in the joys of Liberty prints than to make a quilt?  Delightful. I have recently done an ‘Intro to Sewing’ class at the lovely Sew Over It sewing cafe in Clapham. Now, I think I will have to go back to Sew Over It to do the ‘Intro to Quilting’ class but in the meantime I just want to have a go. My lovely boyfriend was kind enough to buy me a sewing machine so I am going to put my newly found skills to the test (plus quite a lot of trial and error). So here goes…please forgive all the countless mistakes I am bound to make, as it is my first attempt at sewing solo.

You will need:

1. Fabric squares.

2. Fabric for back of quilt (I used a duvet cover that had a hole in it to save money).

3. Sewing machine.

4. A lot of cotton (I used three reels).

5. Scissors.

6. Rotary cutter and mat if you need to cut the squares.

7. Wadding (search for Dacron on the internet – I got 4m for £3.99).

8. Double sided bias binding 25mm.  You will need up to 5m of length depending on how big your quilt is.

TUTORIAL:

1. Plan your design (sketching it is helpful with the dimensions) and then cut your squares. If you have a cutting board, ruler and rotary cutter this is a really fast, accurate way of doing it. Remember to allow for a 0.5cm seam around each square.

2. Lay out your design. I do it on our spare bed so I don’t have to take up floor space or bend to the floor constantly.

3. Start by sewing the squares right side together. Pin two squares together leaving a 0.5cm seam before sewing.

4. I used a basic straight stitch, which gives a neat finish.

5. It should begin to look like this once you have begun sowing the squares together in rows.

6. You then need to sow the rows together. Pin them together first (you can get away with not pinning small squares together but not long rows).

7. Once all your rows are sewn together you need to cut your backing fabric and wadding to the same size and layer them up with the wadding in the middle.

8. You must pin the three layers together all round the quilt and then sew around all four edges. If you want to attempt quilting the blanket some people recommend gluing the three layers together, before sewing, with an adhesive spray. This keeps the layers stable as quilting can make your layers bunch up.

9. You can leave the blanket as it is at this point or you can try to quilt it.

10. I made a quick sample (with the wadding and backing fabric) to practice some quilting patterns. My sewing machine does not have the right foot for quilting but thought I’d give it a go anyway. I’ve just used parallel lines of straight stitch and a pretty smocking stitch but I wouldn’t recommend this as it takes such a long time.  You can choose whatever colour thread you like, or alternate.

Liberty quilt

12. Parallel lines of quilting

Liberty quilt

13. Smocking stitch (be warned it takes forever and uses so much thread).

Liberty quilt

14. Finished result.

Now for the binding…quite a long, tricky process.

You will need:

bias binding

You will need: Double sided bias binding 25mm.

TUTORIAL:

Binding on quilt

1. Trim the edges of your quilt very close to the stitching.

Binding on quilt

2. Line the top edge of the binding with the very edge of the quilt. Sew along the first crease.

Binding on quilt

3. You then need to fold the binding over the edge of the quilt.

Binding quilt

4. Sew along the binding again very close to the inside edge being sure to pin it as you need to catch the back side of the binding.

5. Your stitching should catch the back side of the binding.

Binding quilt

6. When you get to the corner there are different ways of turning the corner. I decide to cut a square out of the binding as you can see in the picture.

binding quilt

7. Fold the binding as you can see.

Binding quilt

8. You will then be able to fold the binding over and create a neat corner.

Binding quilt

9. Binding, although tricky, really is worth it as it gives a neat finish to your quilt.

Liberty quilt

10. All done!

Now, just need to decide where to put it or who to give it to….