When I began my blog I had no idea how to take decent photographs in my home and it took me a long time to figure out how other bloggers did it. When I look back at some of my posts I cringe a bit as I realise how ugly some of my photos are – dark, bits of clutter captured in the corner of photos, muddy backdrops, light absorbing carpets or table tops. Over the last couple of years I have developed ways of improving the photographs I take in my home to try to make them look a bit more professional, without the obvious benefits of the lights, backdrops and space of a proper studio (oh to dream!). If you are new to blogging this post is for you!
I shared my tips and tricks to create a home studio at Britmums conference as part of my talk about styling for blog photographs – you can see my tips for styling here and tips for taking photographs of your styling here. Today, I would like to share my tips for cheap, easy ways of creating a ‘home studio’ to make the most of your styling and make your photographs look more cohesive. Hopefully, these ideas won’t take too much effort or mean you need a dedicated space to take photographs, which a lot of people just simply don’t have.
1. Fake it!
One of the biggest lessons I have learned as my blog has developed and I have been offered more and more freelance work is that I need to fake it. For example, if I am asked by a sewing magazine to make an ironing board cover I know I do not have a lovely laundry room in which to photograph the project (I wish!). If you find yourself in this type of position, with something that you need to photograph but not the right type of room or backdrop for it, you need to be a bit creative about finding a solution. You can see below the solution I came up with for the ironing board – cleared a shelf in my home office, put a few ‘laundry room type things’ on the shelf and kept it simple. I hope if you look at the final magazine page that you would never guess it was in a messy office.
Another example from the same magazine, I needed to photograph some hanger jackets yet I know that the inside of my wardrobe is dark and ugly so using that as the backdrop would not have worked. I didn’t persevere trying to make the hangers look good in the wardrobe just because the cupboard was the natural backdrop for these items. If there isn’t enough light, there isn’t enough light – if I was a professional photographer I might have been able to make it work, but I’m not so I had to get creative again. You can see the solution I came up with below.
Take another look around your home when photographing particular props or products and try to think about what make shift sets you can create instead of making do with a bad option.
2. Focus on a small area in your home
When I started out I was far too keen to take a picture of whatever I had made or styled in a full room setting. However, we do not all have magazine-ready homes ready to be shot at a moment’s notice. When you want to take a photograph of something focus on a small area of a room and clear the clutter and even furniture from that small space. This makes it a much more manageable task than re-styling a whole room ready for a shoot. The issue is that if you do choose to photograph something and capture a whole room (that isn’t magazine-ready) at the same time, you are most likely going to detract from the item you are blogging about.
You can see in the images below that I needed to photograph the two vases and I made it really easy and simple by clearing clutter off the top shelf and then honed in on only that shelf for the final image. It didn’t take long but is a far more effective shot than one of the full, cluttered shelf or the messy room the shelves are in.
3. Use natural light
I have heard lots of bloggers worry about the same issue that they are at work or looking after children during the day so how can they take advantage of natural daylight. The fact of the matter is that photographs using natural daylight are 100% better than those that don’t (unless you are a pro photographer). A simple way of using your time efficiently so that you can photograph your styling in the daylight is to set it up the night before. When you get home from work or the children are in bed, spend some time setting up your styling, take some test shots and then when you have a few minutes the next day take the final photographs in the natural light. You can see examples of that process below. I had an Easter table to shoot but I knew I was out at meetings the next day so I set it up the night before and did the final shots in a few minutes the next day.
This is also a good habit to get into over the winter months when there is far less light. If you have your styling all ready to go the night before, you can take advantage of the brightest part of the day instead of wasting the precious minutes of light faffing around with styling.
The best place to take photos to make the most of natural light is next to a window, however you want to avoid direct sunlight. If there is direct sunlight you will need a sheer blind or thin sheet to diffuse the light from the window.
Timing is really important when taking photos at home. You will need to chase the natural light as your home won’t benefit from the massive windows, white walls or lights that some studios do. Therefore, you need to plan your blog posts carefully and track the weather. If you know you have three tutorials to shoot save them for the sunniest day of the week and make sure everything is ready for that day.
If all else fails, you may need to admit defeat and just not photograph in a particular room or corner of your home, for example my bathroom has no natural light as it is windowless. A really bad photo is worse than no photo at all sometimes.
4. DIY backdrops
For those of us who photograph smaller items such as jewellery, craft tutorials and flowers it’s a really good idea to build up a bank of DIY backdrops that can be easily moved around the house, catching the best light and will give your photos a cohesive look and allow the products to shine. Whether it be an old sheet, tablecloth, foam board, wrapping paper, wallpaper remnant, wooden board, card, roll of paper or even old floorboards, these backdrops are easy to get hold of, very inexpensive and relatively easy to store. Using DIY backdrops is so much better than using your varnished orange pine dining table, light-absorbing dirty carpet or bobbly ugly bed linen (things I did when I started out) – never photograph anything on those surfaces ever again!
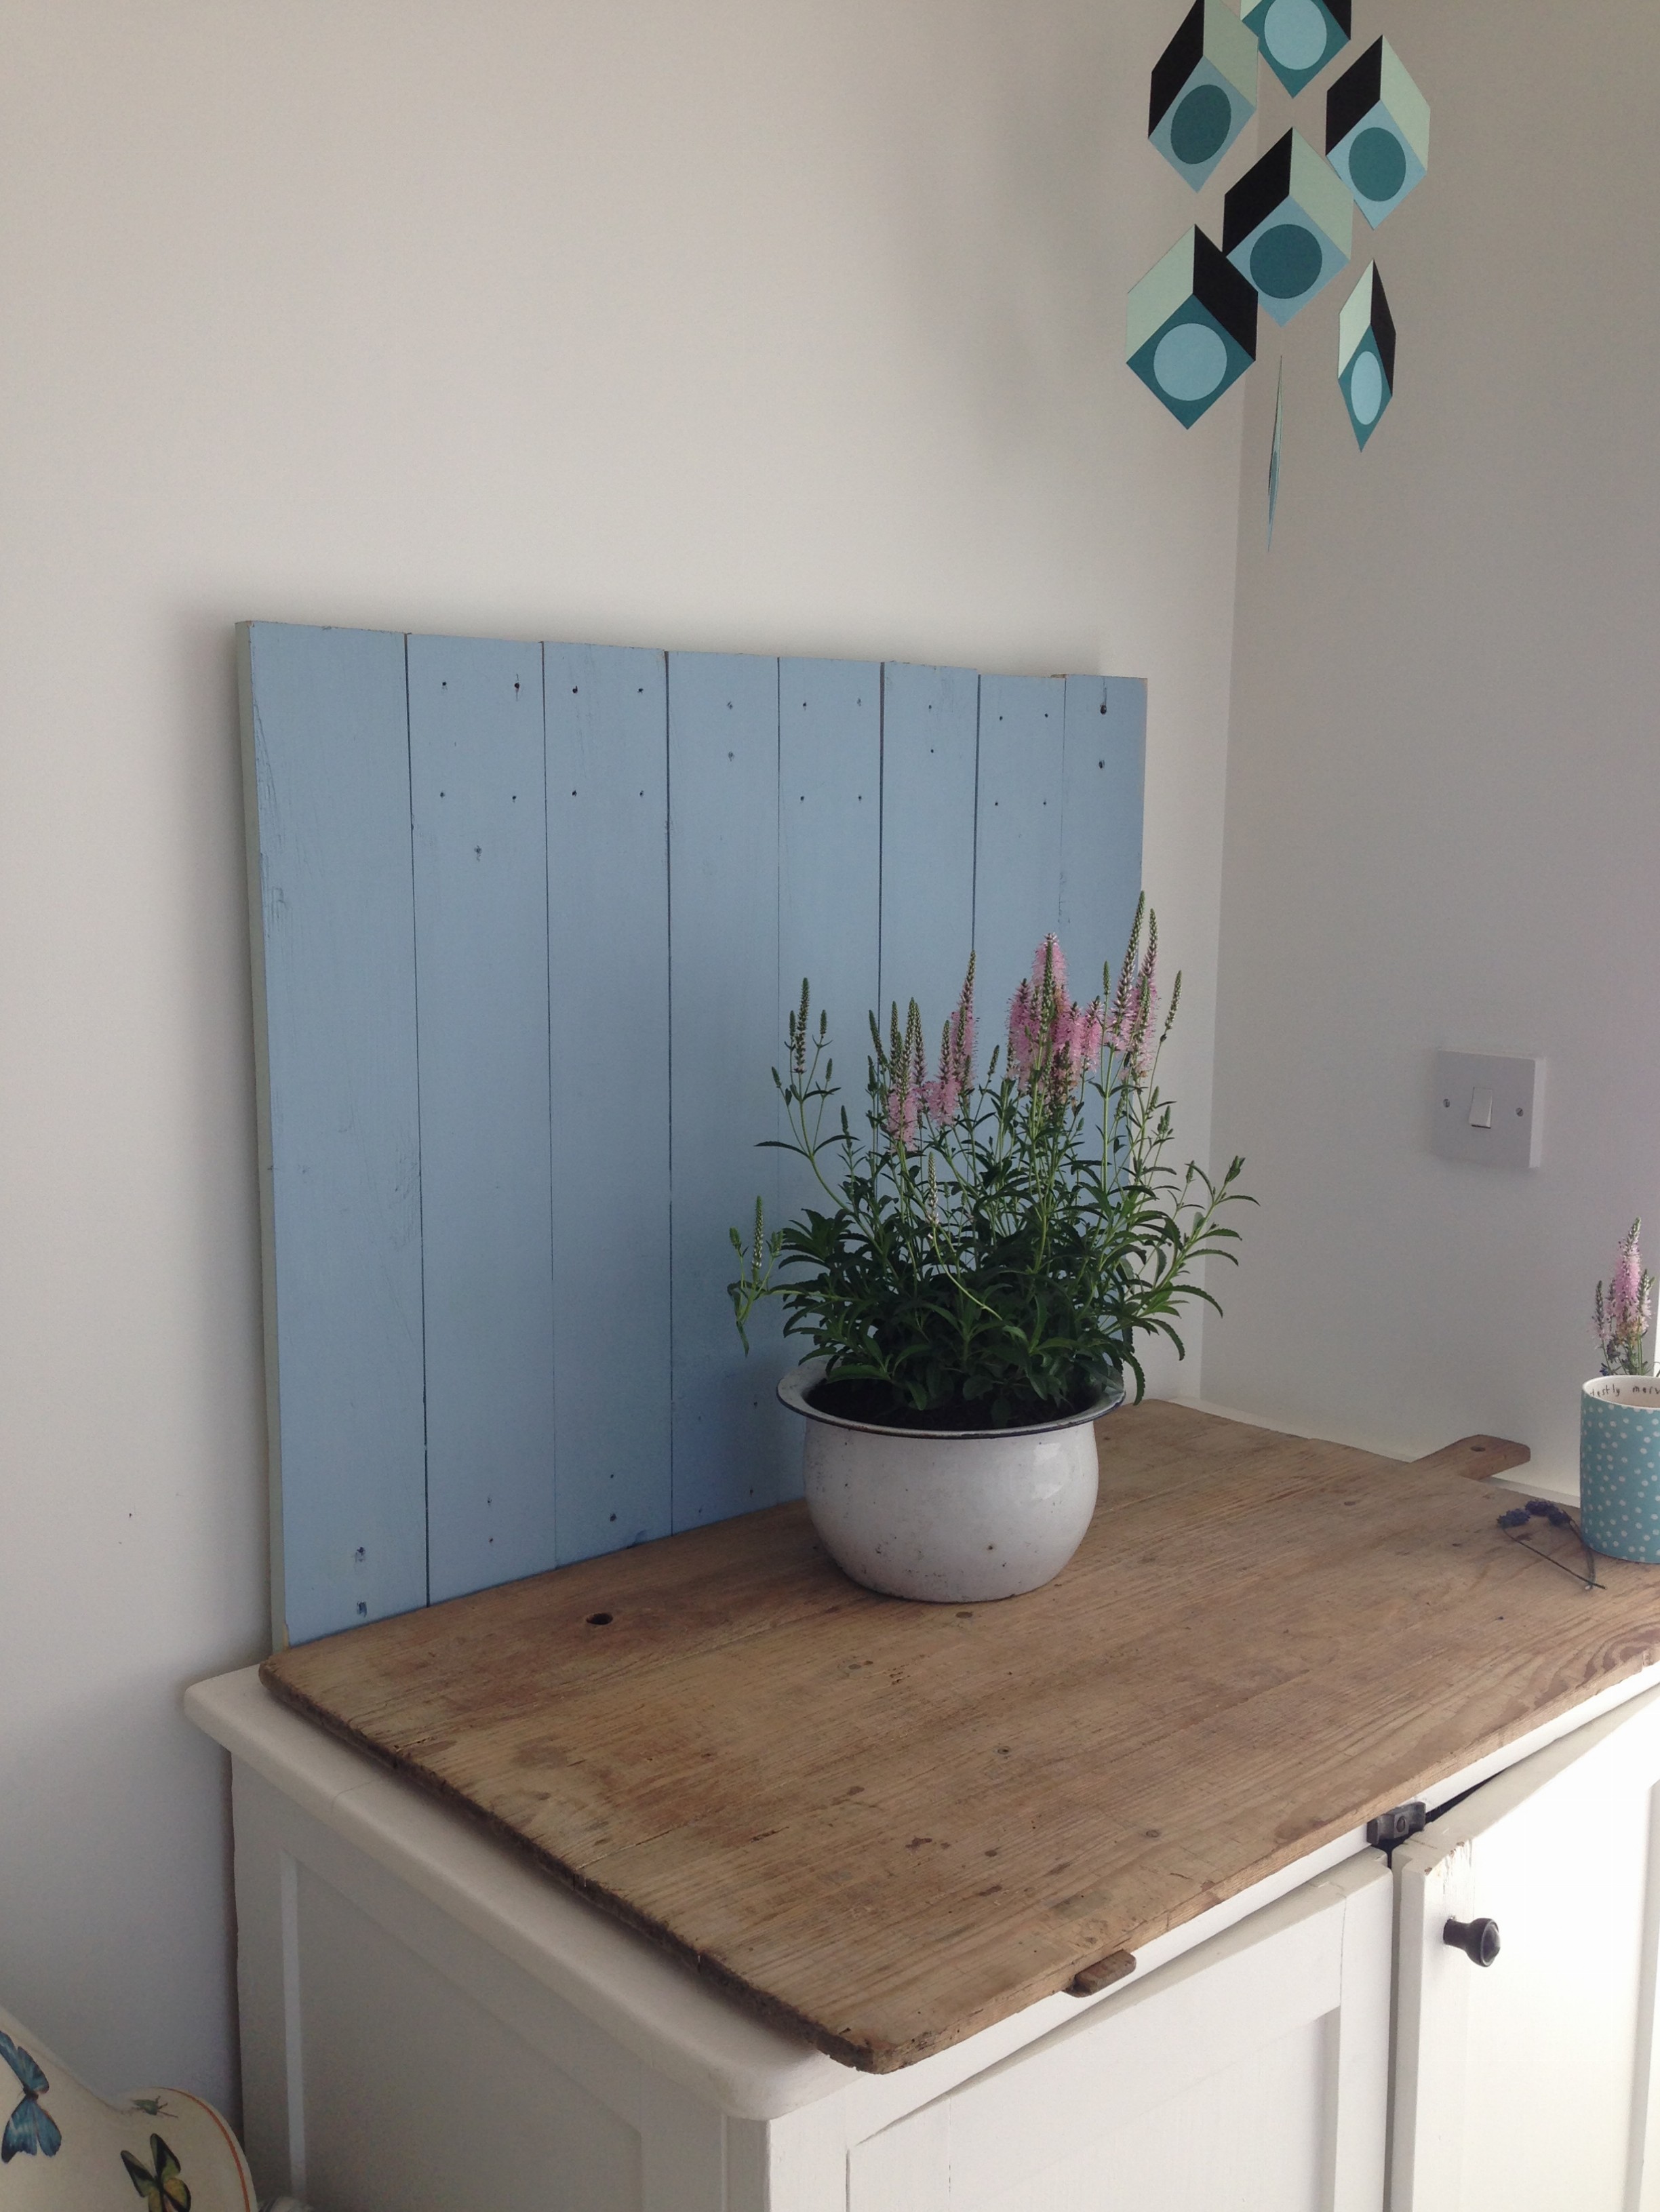
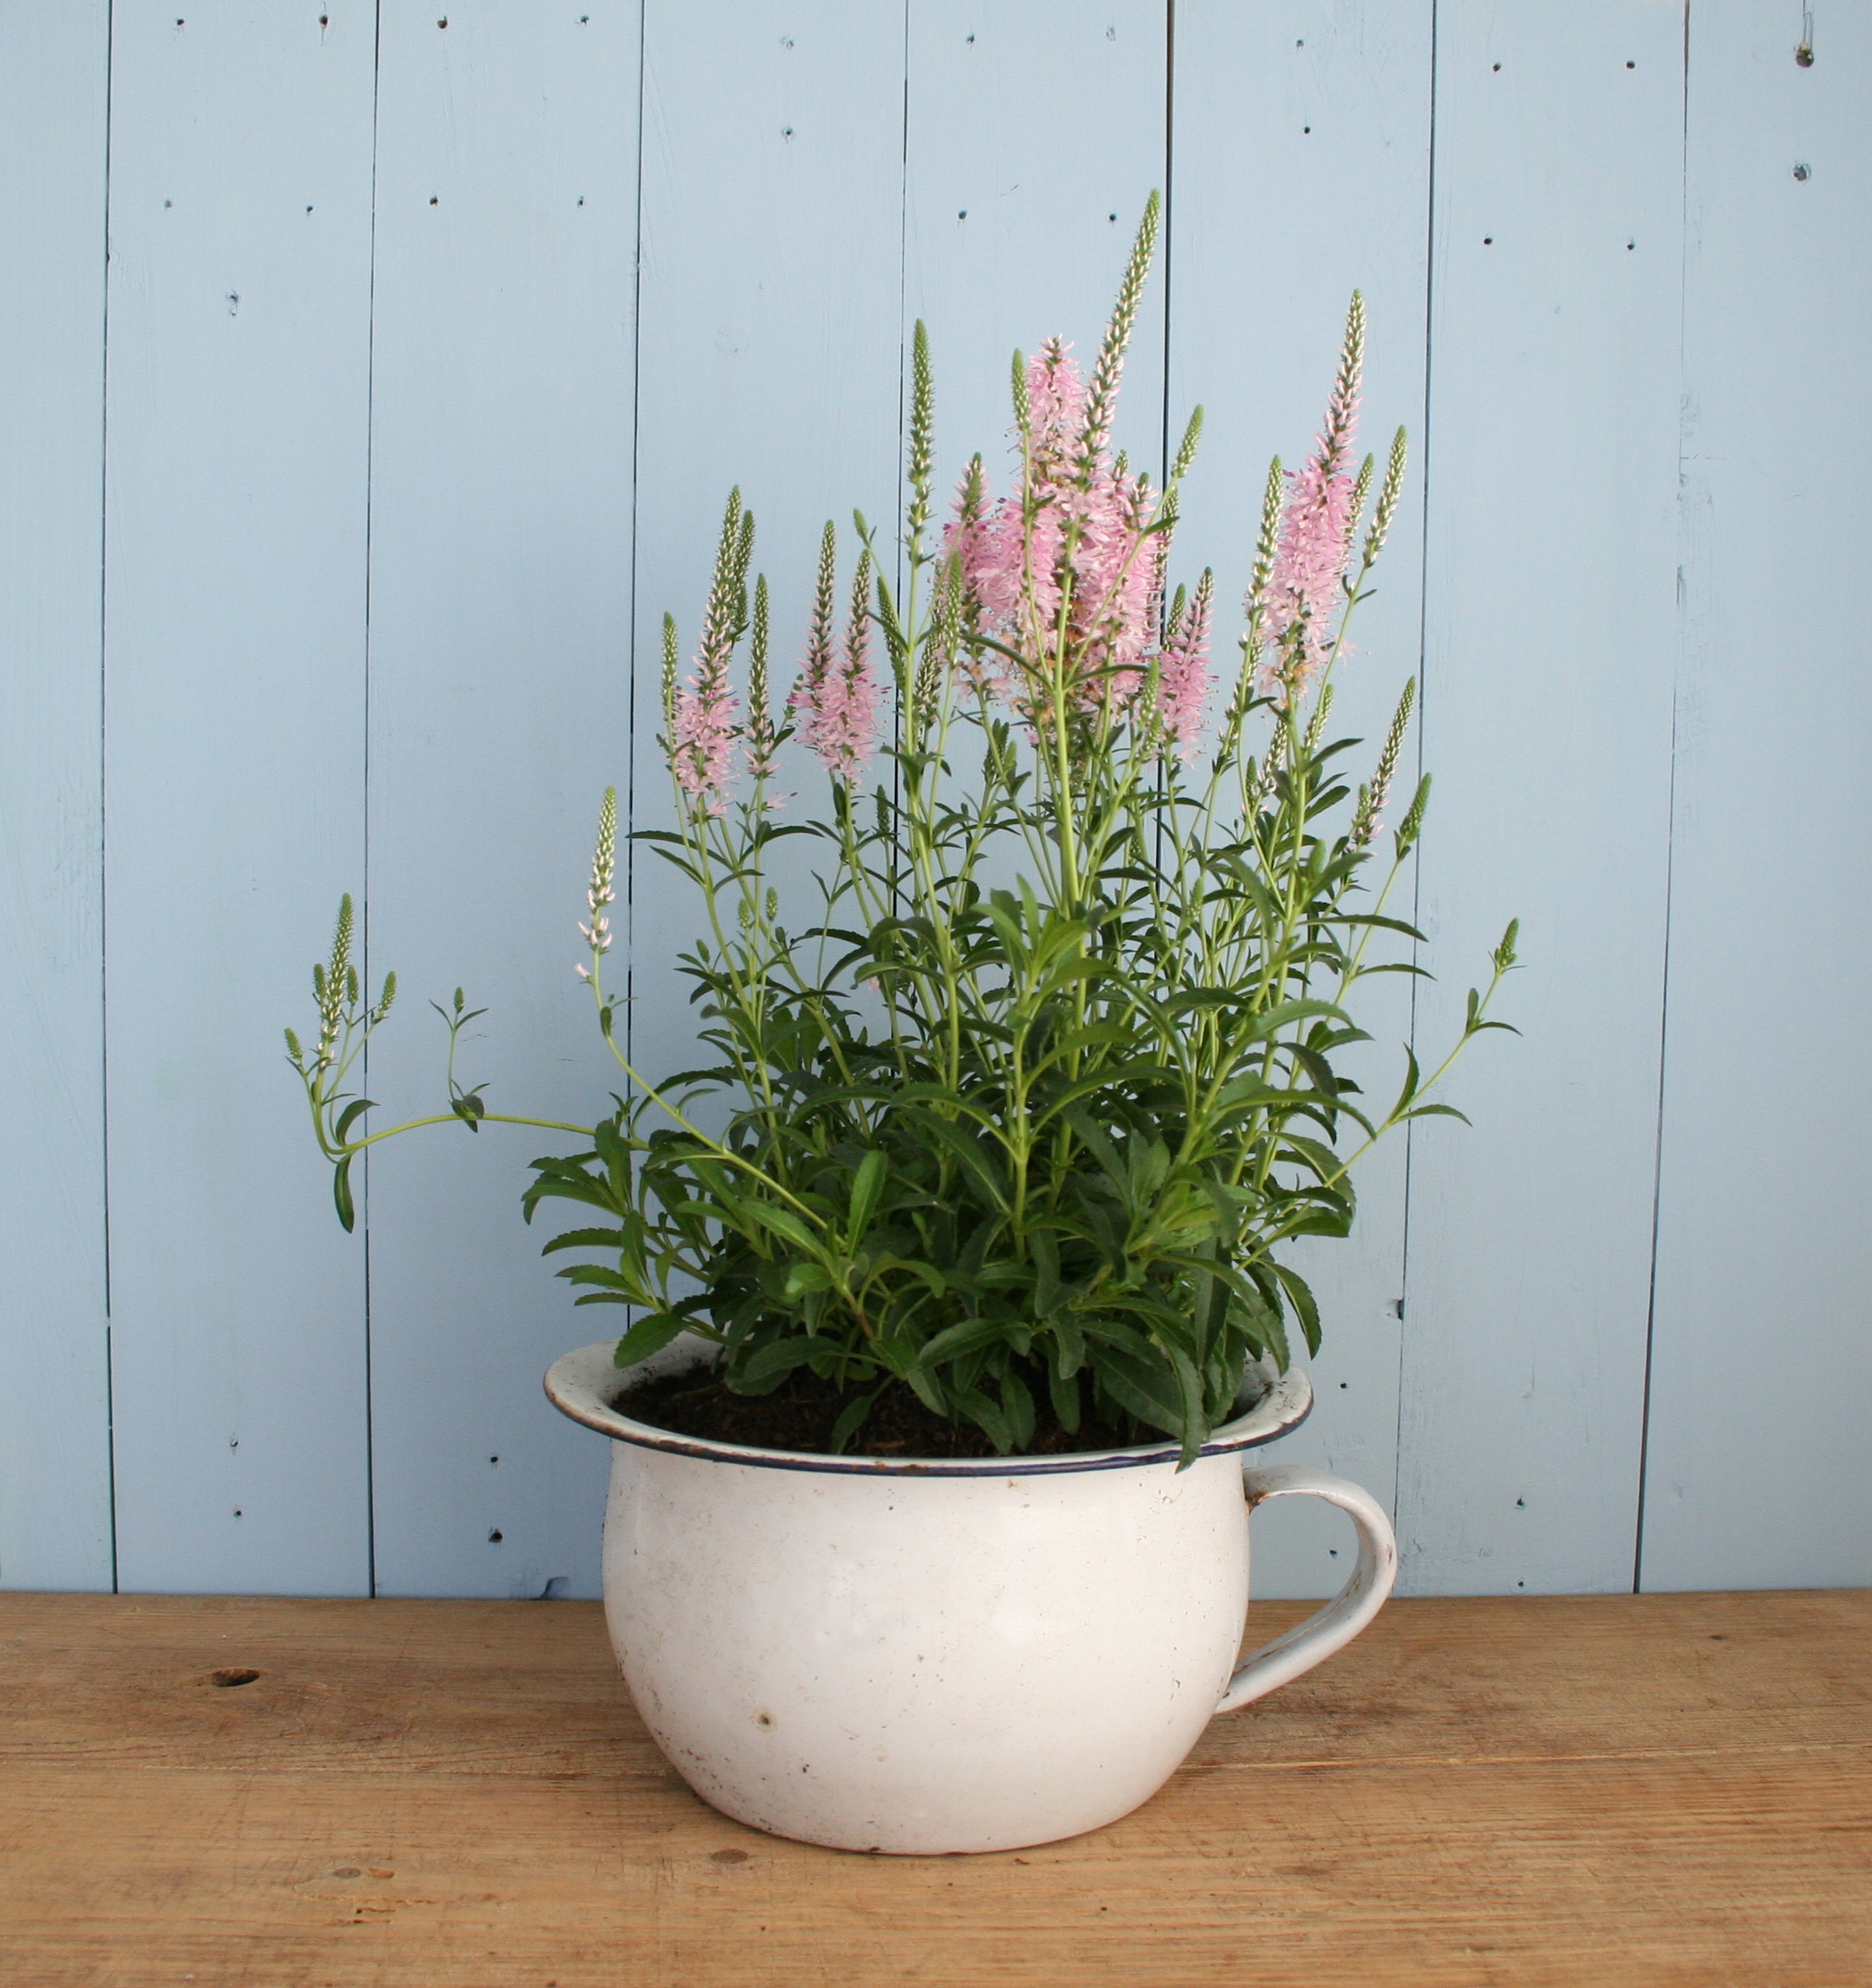
I recently made some scrap planks of pine (they used to be a puppy guard around the bottom edge of our balcony when Otto was small enough he could potentially fall through the gap!) into a board that I can paint different colours according to what I am photographing – at the moment it is white and will probably stay that way for a while. All I did was line up the planks, cut them to the same size using a saw, and then nail two supporting planks onto the back. I love the added texture planks give to any styling. I also bought a massive bread board from Ardingly fair the other day for about £10 and this is the perfect background for flat lays that I can place anywhere with the best light. I was inspired by the lovely Liz over at Say Yes blog to make this board after I saw this post (pictured in the header of this post).
Or just use planks of wood pushed together…
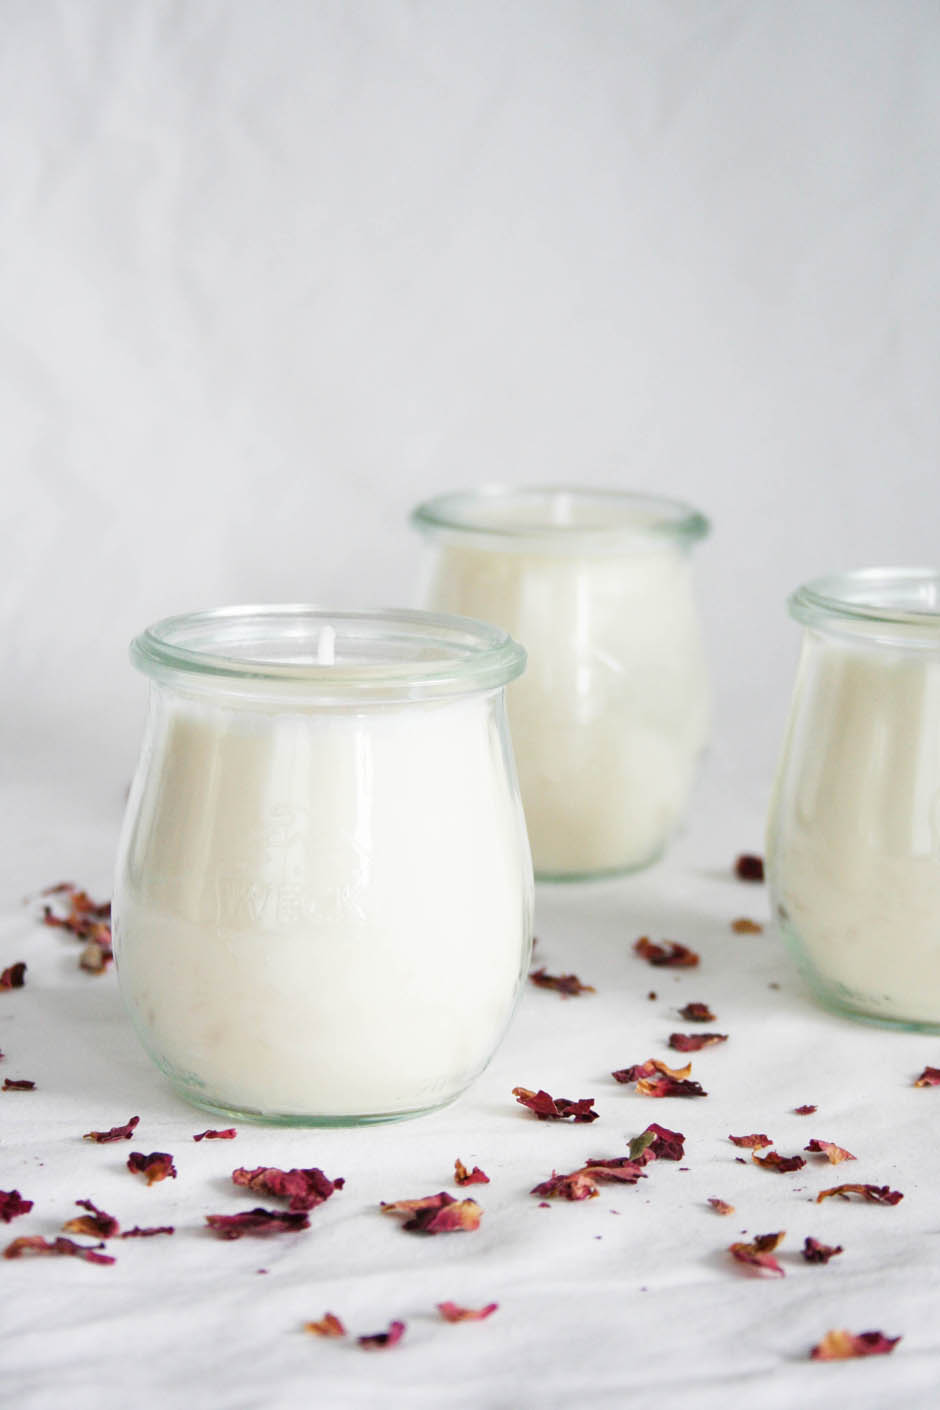
An old sheet worked perfectly as a backdrop for this candle tutorial…
These clever bloggers have got very creative with easy backgrounds, too. Lisa Levis uses blackboard paint, Fran from Fall for DIY uses brick effect wallpaper, marble effect sticky back plastic and pegboard really effectively to display her projects. You can buy wallpaper by the metre from Off the Wall or get £1 A4 samples from Coral and Bone. You can buy marble effect sticky back plastic from Amazon. I bought my pegboard from Amazon for a fraction of the cost of ready made ones, which is perfect for backgrounds, and you can paint it any colour you want.
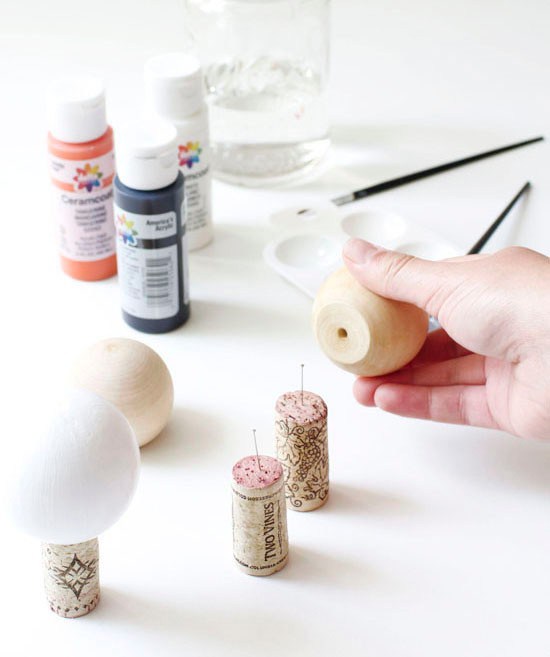
Foam board is a brilliant thing to have at home, especially if you photograph craft tutorials. One piece behind, one piece on the floor and even an extra piece at the side to reflect the light and a mini-studio is made. Here is a behind the scenes shot from Aileen who blogs over at At Home In Love…
Something everyone can get hold of is a pretty piece of wrapping paper that can instantly lift a photo…
I really hope that these tips have been helpful if you are just starting out with a blog. I am always trying to improve my photos and I have a long way to go so if you are reading this and know any extra tips please pop them in the comments below. Thank you!
Katy x
P.S. Don’t forget, you can see my first post from my conference talk about styling tips here and my second post about photographing your styling here.


I loved this post thank you so much for sharing your tips. I’m trying a few of these but there is definitely room for improvement. Great to see how the pros do it! x
Thank you so much for sharing all your clever tips and tricks. This is so inspiring and something that obviously comes naturally to you. I have a feeling I’ll be popping back to read this again and again!! xx
Such a helpful post! Do you have any camera recommendations? x
Author
Hi Cordelia. I use my partner’s DSLR Canon D350 with the stock lens, which quite frankly is a bit rubbish and worse than that I have no idea how to use it properly – I just kind of point and shoot and hope for the best and end up taking 100 photos just to get a good five. I am in desperate need of a photography course and until then I have no idea what camera to recommend, I’m afraid, although I have been told that the lens is all important and 50mm lens would be a lot better than the one I use. Sorry I can’t be more help on that x
Really really great post Katy and I have to say one I needed to read today. Lack of space, slanted walls and working when daylight hits my windows is the number one reason I always shy away from shooting DIY projects or recipes and your tips really show me that I just need to be a bit more ambitious and creative with making mini studio scenes. Thank you for sharing, seriously!
Katy, thank you so much- im quitting my job this week to set up an eshop on my own so that post will save me so much time with your clever tips. Could you recommend a camera too please ? Or did u start with your Iphone ? Did u take a photography course ? Thanks !
Author
Hi Anne-Catherine. Exciting times! I’ve have just written a response to the same question above. I desperately need to do a photography course – if you find a good one please let me know! Good luck with the shop! x
Thanks for your answer Katy. I will be sourcing vintage items from France, I will send you a link when my store is up and running !
This is a fab post and, er, not just for new bloggers! Definitely has me thinking about setting up some of my photos in the future…
Great post – thank you! I am gradually improving my photography skills, although I don’t help myself as I’m too lazy to read any books about photography!
Author
Can’t bear the idea of reading a book about photography – I am definitely a hands on learner and need to be shown what to do rather than told what to do x
Thank you for showing so many options here! I recently went to a tile store and asked if they had any remnants or old samples….ended up with two gorgeous pieces of marble!!! A smile does it every time! Love the faux brick paper too.
Author
Oooooo! I’m desperate for a piece of marble. I might try the sticky back plastic first to see how effective that is x
This is so helpful, and it is really great to see your ‘before’ pictures as it’s made me realise that I can make small changes to improve my photography. If you don’t mind sharing, do you do much post-processing to brighten your images up? They are so crisp and the colours so sharp – would love to know if there is some trick to achieving that! x
Author
Hi Nik. As I have said above I really have no idea how to use a camera properly or how to use the light therefore I do edit my photos on PS to brighten them using ‘curves’. It’s just one action that is really easy to do. Hope that helps and thank you so much for the kind comment 🙂
Super tips! You make everything look amazing. Love the before pictures and what a difference a few simple props make. Thanks for sharing, off to practice!! xx
Love this post so much! I am stuck in the “bit of old white foamboard” backdrop stage and have been meaning and meaning to sort out a painted wood plank board for ages. And yet, somehow, not doing it, then wasting loads of time trying to photograph things against the white painted floorboards of a room that never has any natural light and deleting every photo I’ve taken. Erm, I think I have actually done that on three separate occasions… You’ve given me a kick up the arse to properly get on with the easily-portable plank board! Plus loads of other tips I’d not thought of before as well…
Really helpful tips I have my shop and sometime when I think the whole image looks great I’m disappointed at the result – we are re doing our web site to be more like a monthly blog so really will help – you do have great shots thankyou mx
Brilliant post Katie – love seeing the out takes of your “studio” set-ups. I really must get on and make myself some more backdrops. I bought a few vinyl photography backdrops a while back and they are brilliant (I have white wood, white brick, several other wood colours) – they are wipe clean and you can roll them away and they don’t crease. I got mine from Swanky Prints on Etsy. She’s in the US, but there are alternatives in the UK too.
This is such a great post, thank you for sharing these tips! I just went back and read your other posts with styling tips, don’t know how I missed them, but I have pinned them all for future reference. (Not a new blogger, but there’s always room for improvement!) I had to smile when I saw your behind the scenes photo above where the lamp is lying on the back of the sofa, as I do the exact same thing with a cabinet I have in a similar position. It’s chippy painted top makes the best photo background! xx
Just love this! I went out and bought foam board after your talk at Britmums and I now have my eye on some more backdrops! Thanks! x